Blog Post 3 – Porcelain & Coiling

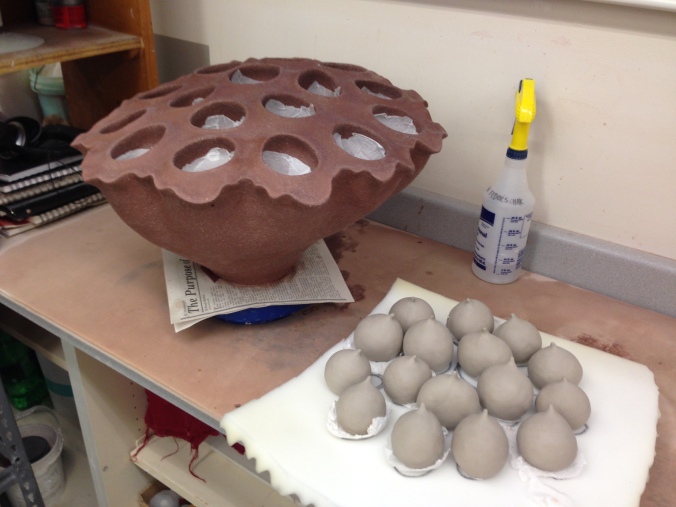
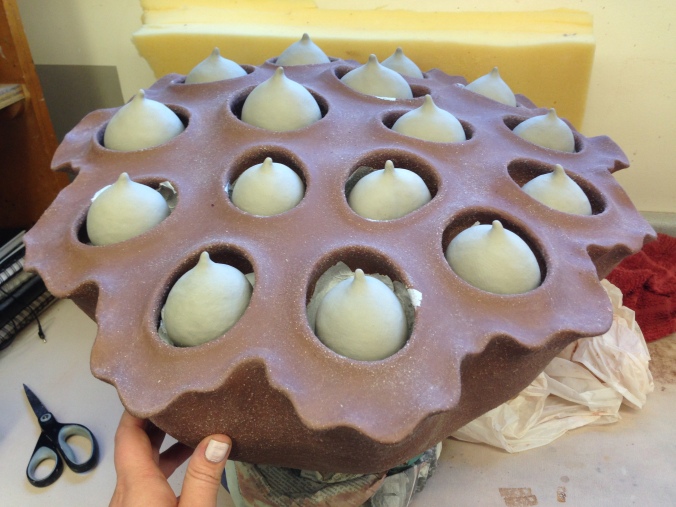
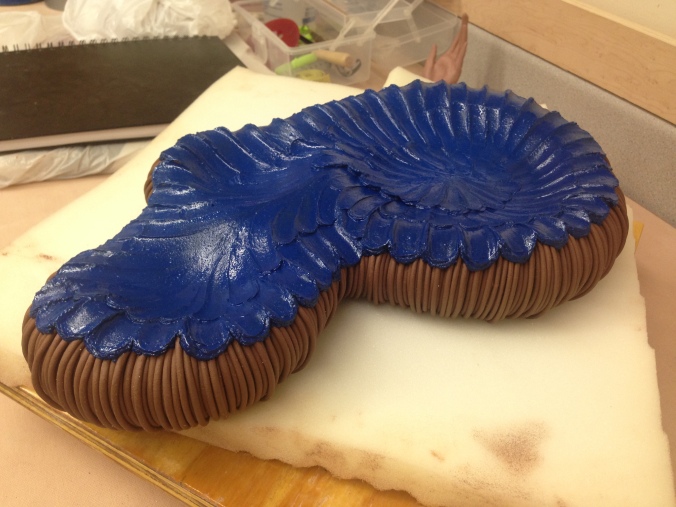
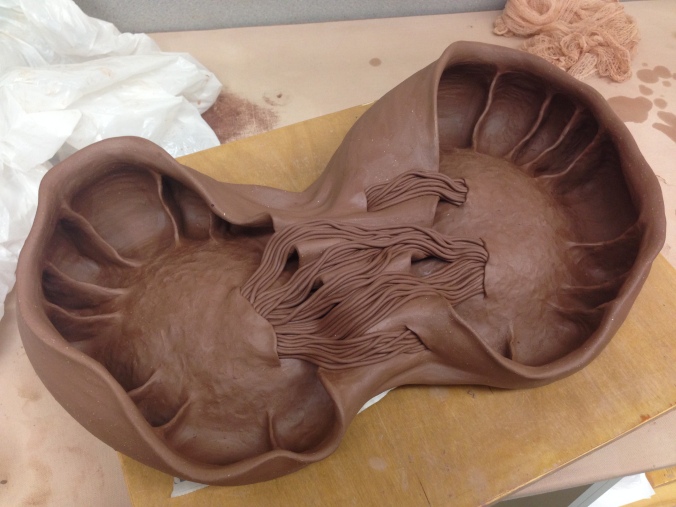
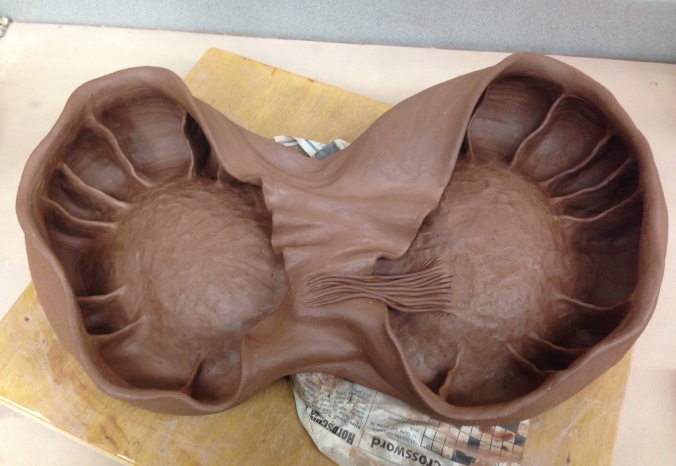
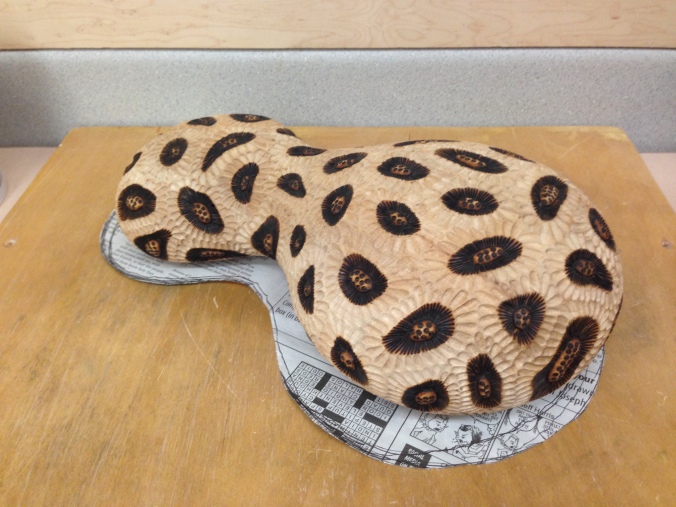
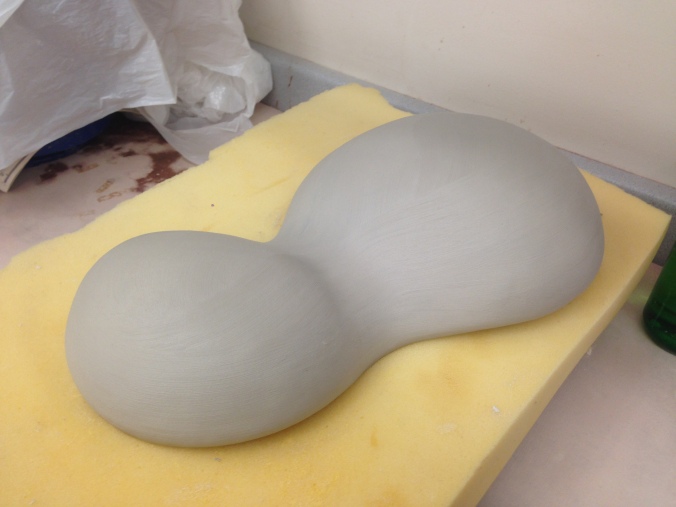
This week I’ve moved on to porcelain paper clay things. The main portfolio project I’m focusing on is a well fitting receptacle for my carved and burned wood piece, which still needs to be painted or surfaced in some way. It is so incredibly detailed that I thought a nice, clean, well fitting “mother” piece would provide the nicest contrast.

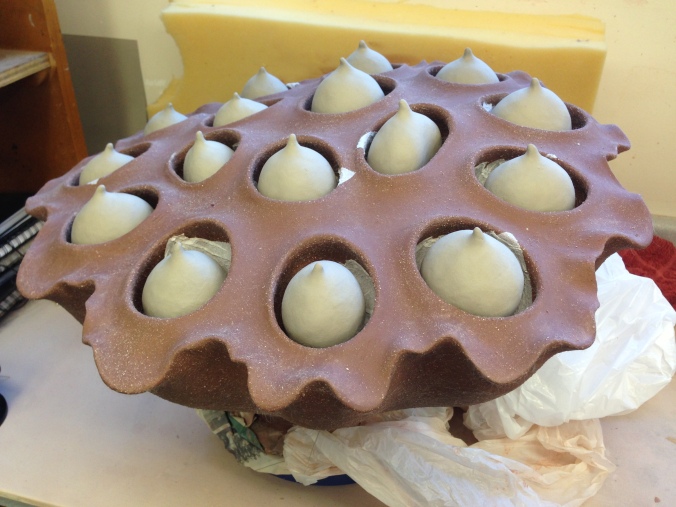
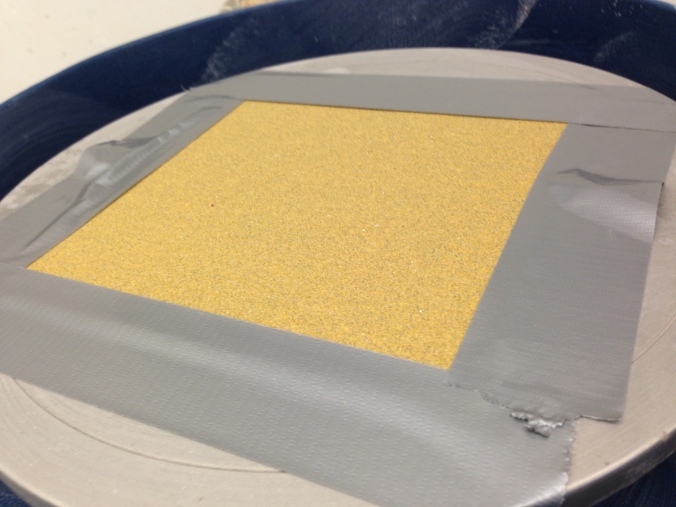
Here is a picture of the bottom of that mother piece – the top is much more interesting to look at, but I didn’t want to flip it again before it hardens up a little bit.

IMG_5938

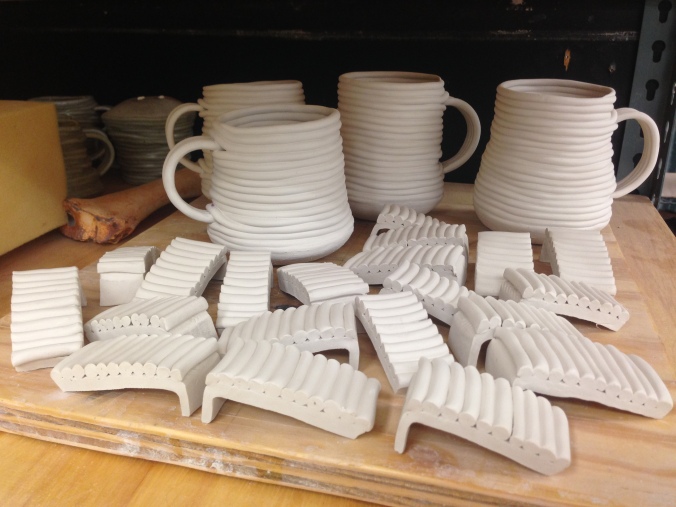
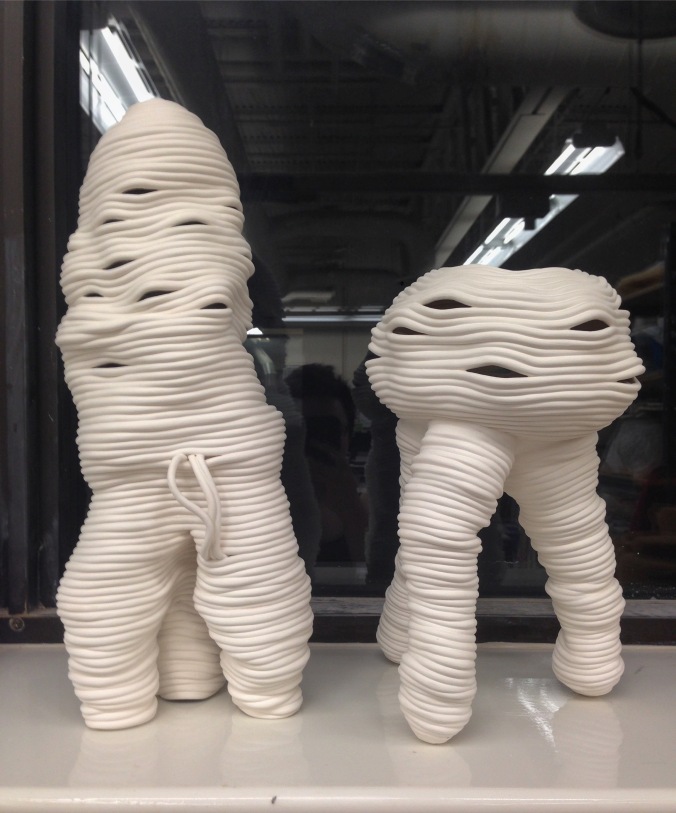
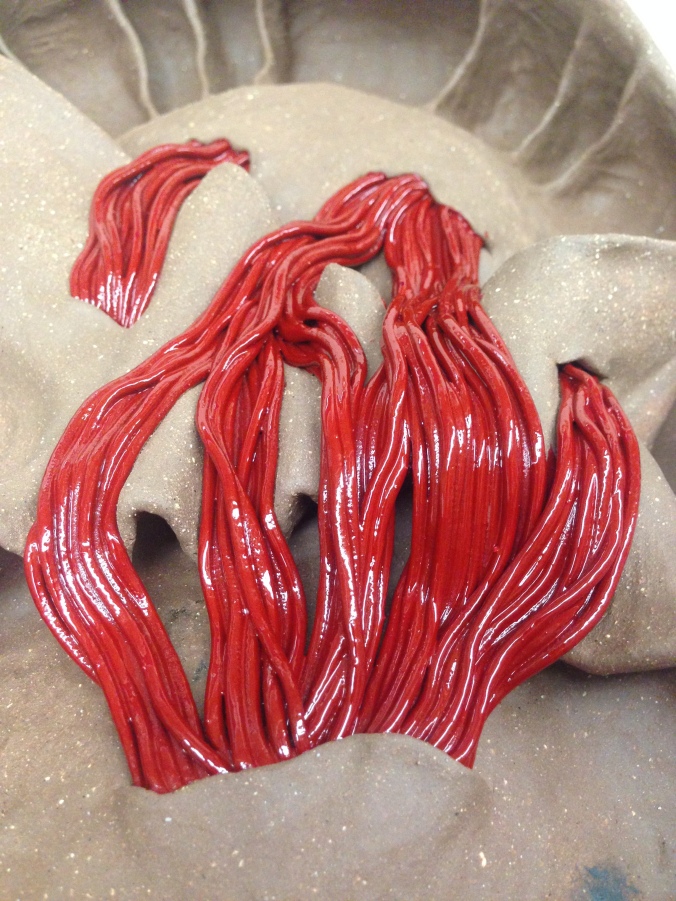
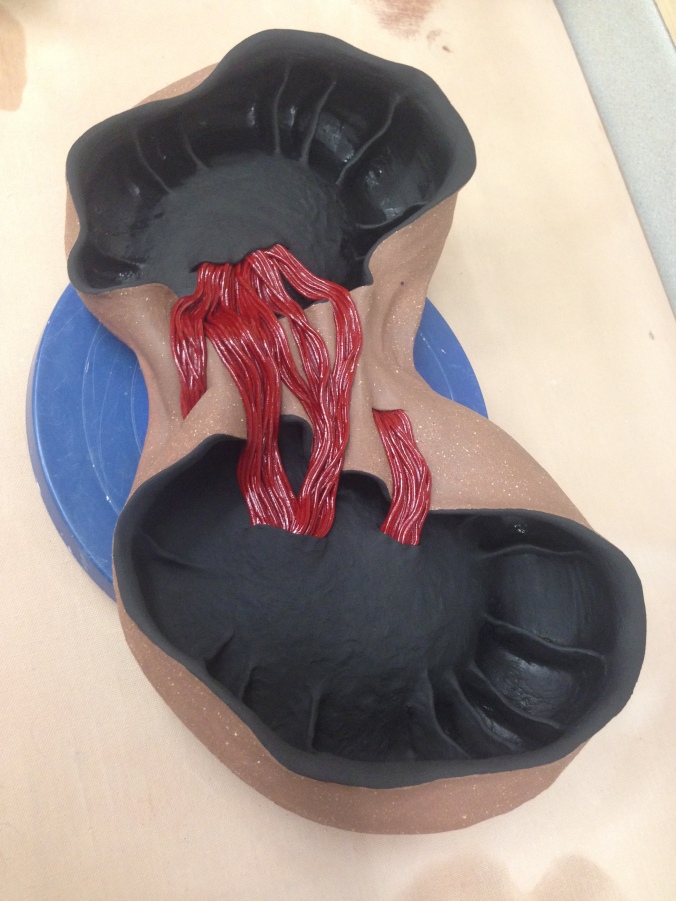
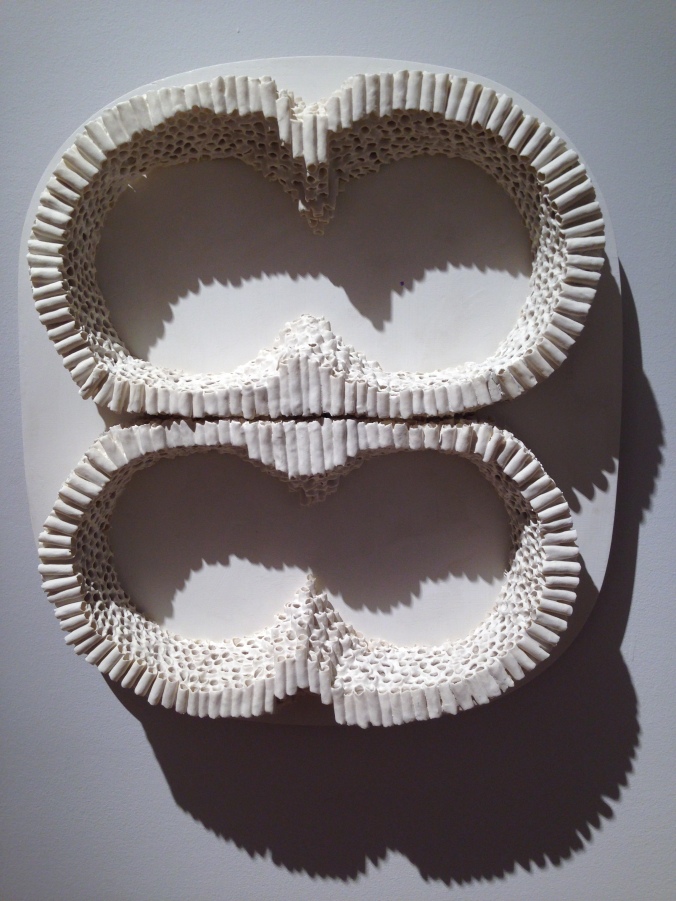
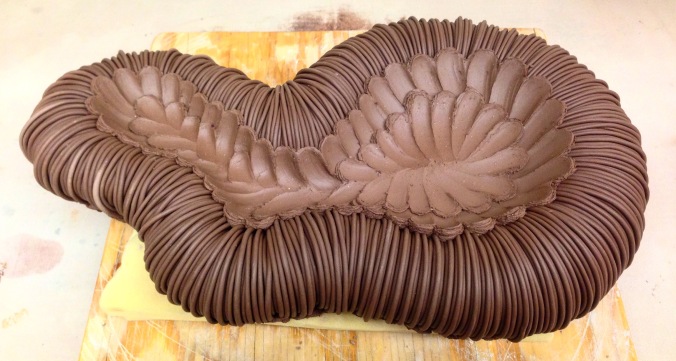
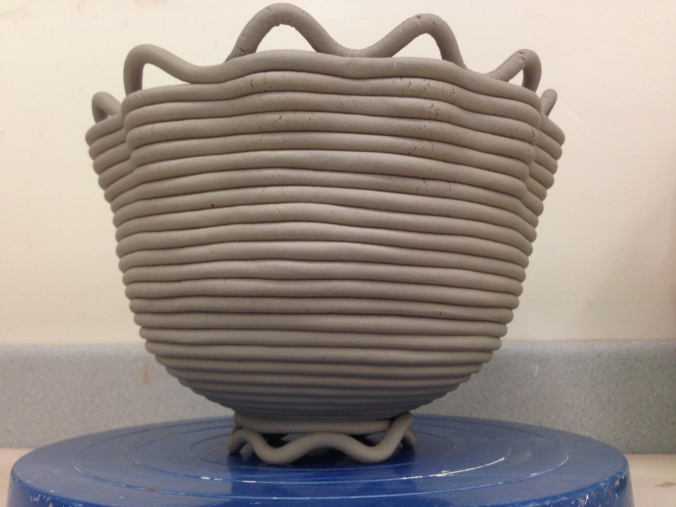
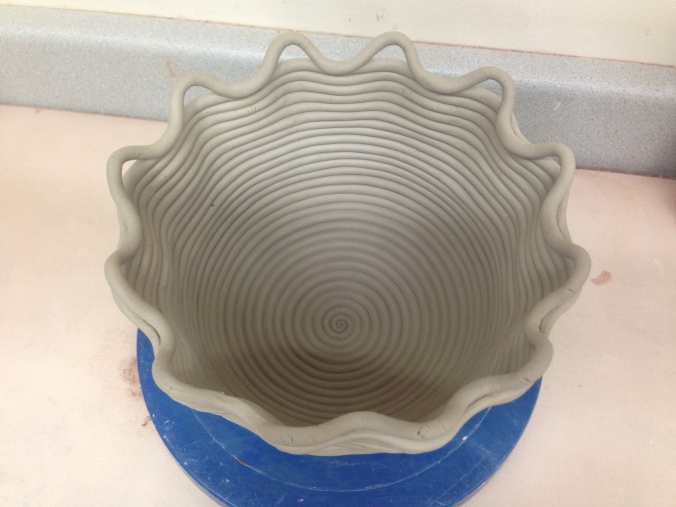
I have also been playing with the coils in a larger serving bowl form. The bowl is medium sized and I really like the way the rim and the foot use the same type of negative space.

IMG_5941IMG_5943

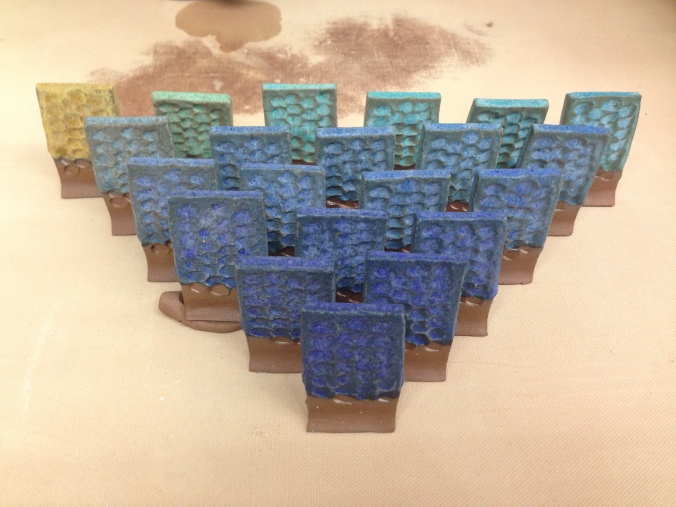
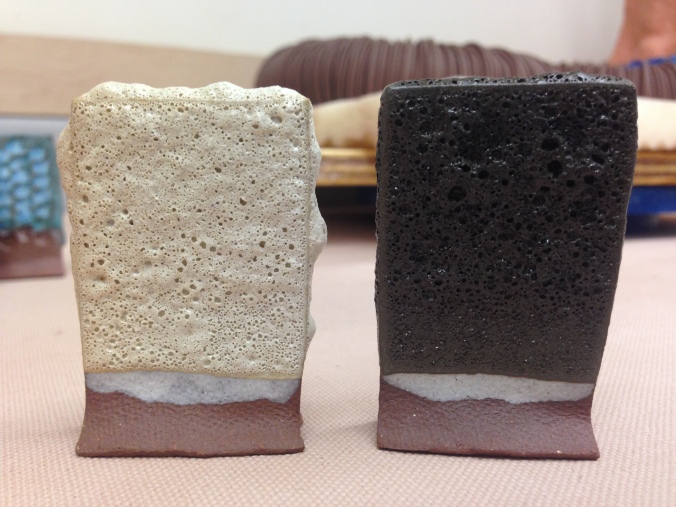
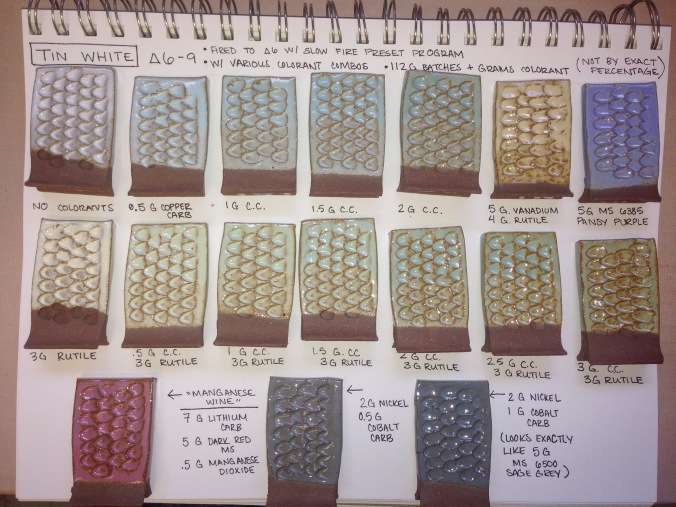
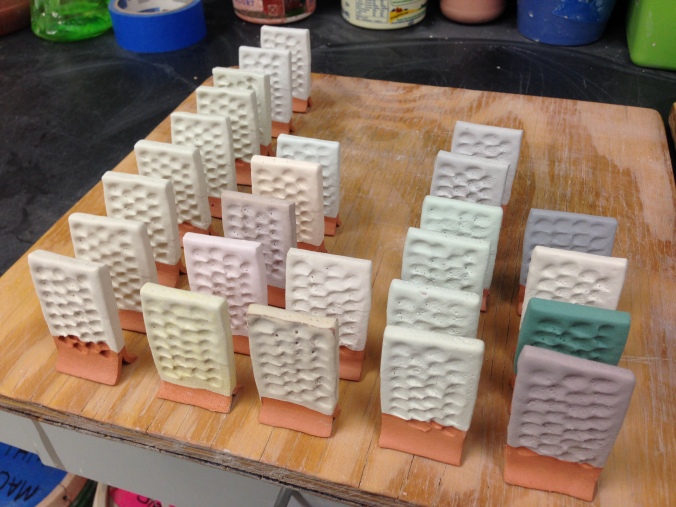
I also made some surface-specific test tiles, which I really like to do because different patterns will catch glaze quite differently.  Hopefully these coiled pots and sculptures can get some glaze soon.

IMG_5944

Blog Week 2 – Finishing the Seed Pod

This past week has been all about porcelain seeds. I made 16 solid bulbs and fit them to each opening in the pod. I then cut each bulb in half, hollowed them out, and reattached them, patching the seams and smoothing the surfaces.

I also added little nubs into the bottom of each cavern and cut out the bottom of each seed and replaced it with soft clay, so that when I placed a seed into its crevasse, it created a latch-key mechanism to hold the seeds in place through firing. I placed a couple of sheets of toilet paper in between the sandy red clay and the smooth porcelain seeds, so that the two bodies don’t mix.

IMG_5923IMG_5925IMG_5919IMG_5920

The last step of the process was to cut the bottom of the pod to balance the weight. For the past few weeks I have been working with a foam bumper under the bottom of the heavier side, so that the whole piece didn’t tip over. Today I cut it at a different angle, duct-taped a coarse sheet of sandpaper to a wheel, and sanded down the bottom of the seed pod.

IMG_5922

Pure innovation.

This piece is now ready for firing and glazing! It took a lot of trial and error to figure out how to build it, but I’m really happy with how it turned out and I’m excited to start a new project.


Blog Post 1 – Starting the Semester

During the first week of classes, I have been wrapping up the building stages of sculptures I worked on this summer. The last weeks of the summer have been spent  visiting graduate programs, which has been an extremely useful activity, and I have gotten to see some incredible schools and cool parts of the country. I’ve been to the University of Alabama in Tuscaloosa, Ohio University, Kent State, and Bowling Green State in Ohio, and Southern Illinois University Edwardsville. I’ve begun to polish up my artist statement/letters of intent in anticipation for grad applications this winter, which I’ll have to have completed before my family leaves for India in mid-December.

Some of the sculptures I’ve been working on are now about to get surface treatment, and I’m about to start testing a few things and making some decisions.

This pair made it through bisque without noticeable cracking, which is a miracle #blessed.

IMG_5797

I also am very close to finishing up this large lotus seed pod, which has been really time consuming but also very rewarding.

That’s all I have for this first week! I am excited to hit the ground running, I have really clear ideas and I’m ready to make it happen.

Wrapping up the Semester

After a lot of experimentation, I finally got the enamel to a happy place on the bottom of my sculpture. Today, I put the first layer down on the top, and it should be finished up with another day’s work.

I also fired my triaxial blend on a really nice stoney, runny base glaze using cobalt carbonate, red iron oxide, and copper carbonate.

IMG_5451

I also tested a “lava” glaze, both with and without a black mason stain. I actually like it way more without colorant – it acted a lot different, bubbling up more without any colorant.

IMG_5453

I also fired a few more handbuilt mugs, and they actually survived this time. I used one coat of glaze, so it didn’t crawl and so far, they don’t leak!

IMG_5456

Cold Finishing

Most of this week was spent enameling parts of my sculptures after firing. After I finished the red enamel on the binding coils of my first sculpture, I painted a chalk black acrylic on the interior – both colors involved a ton of very, very precise detail work and a lot of layers. I’m very pleased with the result. For my critique, I showed that sculpture as well as many others at various stages of completion. The critique went very well; there was great dialogue and I left with a few juicy brain seeds.

After the critique, I started on enameling my second sculpture. I decided to leave the external coils bare, but I may buff them up with a shoe polish or wax.

IMG_5406

This image was taken after my first layer of blue. I have since blended the outside “feathers” in a blue-black gradient and added a little white halo. Again, the enameling involves mostly very focused detail work and many layers.

I am also working toward a finished product with all of my bone casts. I have painted the fired bones with the same ultra matte chalky black, and then added a layer of polyurethane gloss to the texture on either end, which really gives a nice contrast. I am thinking about attaching the bones into a sort of DNA ladder using lengths of ribbon.

In the first image, you can see my funeral slab where bugs go to die.

That’s all for this week, mostly because I forgot to take more/better photos. Thanks for looking!


Finishing Stages!

This week, I have been working on the finishing stages – surface treatment – of my two larger bio sculptures. I’m working toward a finished product that would involve the pieces themselves, with a cold finished surface (enamels, chalk paint, and wax), and a concrete or wooden base.

I wanted to show photos of my fired butter dish, which turned out well.

I have begun working on a new finishing approach with the following “telophase” piece. I decided to use enamel paint for a glistening red, evocative of internal organs, and a contrasting black chalk paint on the interior, leaving the outside raw. I may rub some wax into the raw clay to finish it, but I do like the difference in sheen and the surface contrast that provides.

IMG_5396

IMG_5398

And to wrap up I’m including an image of my newest project, which melted into a puddle in my kiln after I over fired it. But, I am still really excited about it.

IMG_5358

NCECA

This past week, I have been in Portland, OR for NCECA!!!!! I also spent several extra days with my good friend from undergrad, who has family and friends in Portland. I got to explore the city, see a ton of art shows, cross a million bridges, and eat so much great food. I also spent a lot of time talking with grad school booths and had a couple of long and enlightening conversations with university professors.

I’ve included a few highlight pictures from Portland.

We got a chance to tour the Skutt factory and see the shows as well as their incredible private collection. Here is a photo of the brick room:

fgfd

Emily Counts’ show at the small gallery Nationale was pretty phenomenal and gave me some ideas about incorporating textiles into my work.

bhj

Here is a sculpture by CJ Jilek at Disjecta – The Evocative Garden was a super interesting concept for a show, and this was one of the pieces that really stood out to me.

CJ Jilek

At PDX Contemporary Art, Bean Finnerman filled a room with her energetic sculptures. They remind me of Zemer Peled’s work, but taken in another direction.

FullSizeRenderBean Finnerman

This slip cast, wood fired, fire extinguisher series by Cooper Jeppesen at Blackfish was incredible. Each individual object was unique and beautiful and took on new significance as a group.

IMG_5299

The last photo I’m including is work by Amanda Salov at the Pacific Northwest College of Art. I loved the delicacy and the shadow play that this piece created.

IMG_5270


Sculpture in all Directions

This week, I finished the detail work on a sculpture from last week. I am really enjoying the negative space, which leaves long shadows and a hidden, cavernous feeling. Using the coiling on just selected space rather than all over was a suggestion I got over and over, and I think it is much more effective and dynamic to look at. (Also, quicker).

image4

The rest of the week was filled with experimentation. I made a little foot (solid, and then cut and hollowed out):

image1

I hand built a few more mugs, and am loving the gestural nature of hand built pots.

image3

I am also working on some experiments in slip dipping. I am creating a sort of ladder/DNA strand with tied bits of rope, which will be dipped in slip and burnt out.

image2

Making Art!

This week, I’ve been working on a new piece that started out as a base for a previous wooden sculpture, until I flipped it over and liked the negative space well enough to pursue it as a standalone sculpture. I have plans for some further detailing/coiling in the center, but I am enjoying the shadows and ridges inside.

fullsizerender

My test tiles came out and although I like the results and complementary pairing options, I’m not so sure that this glaze has a sculptural application. More testing is in my future.

img_5139

After weeks of slipcasting bones, I tried a black iron oxide wash on a bisqued bone and really like the results. The stain sticks very well in the recessed areas and does a good job of catching the details!

img_5147

Finishing Stages

This week I finally finished the top of my coil sculpture, marking the end of its formative stages. Well, mostly. I am having a cracking issue that will need to be addressed with paper slip that I made today. But, other than that, it is ready for bisque and then…….glaze…………………………

file_002

I also made 14 new color variants of the tin white glaze, and 10 new color variants of Jen’s Juicy Fruit. I am awaiting the unload to see what I can use to finish up my sculptures and pots.

file_006

I have also begun making stencils for a clay piece that is going to serve as a base for a wooden sculpture that I made this summer at Penland. To me, it reads as an unfinished piece and I am excited to complete it with a clay counterpart.

file_007